

How To Repair Grout In Shower Floor Tiles


Fixing Cracked Shower Grout
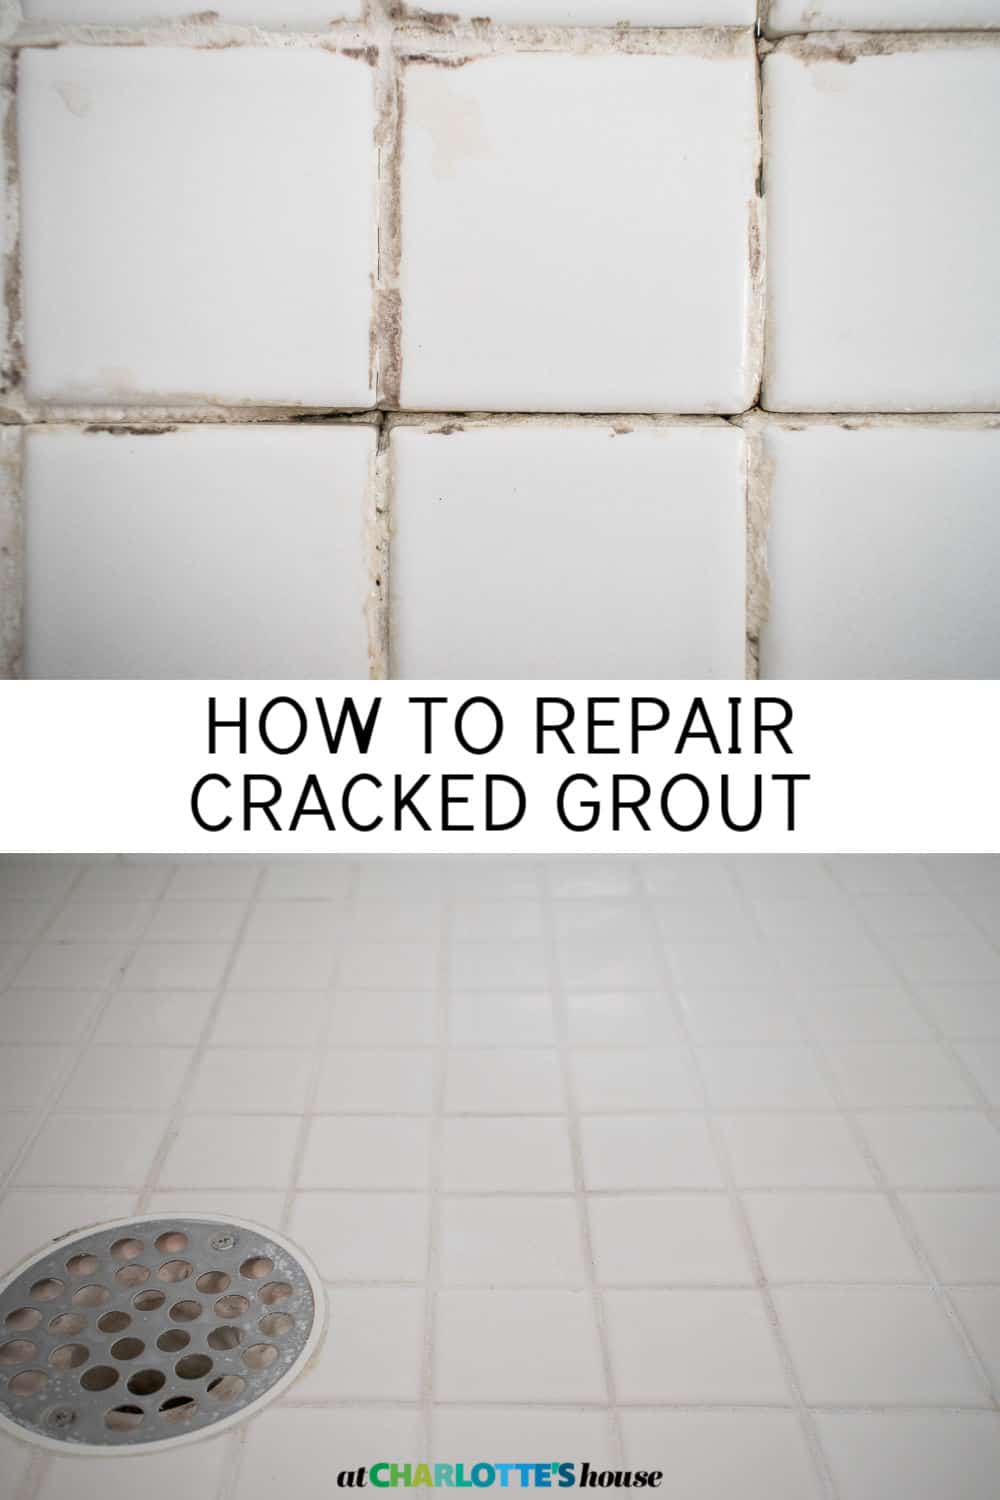
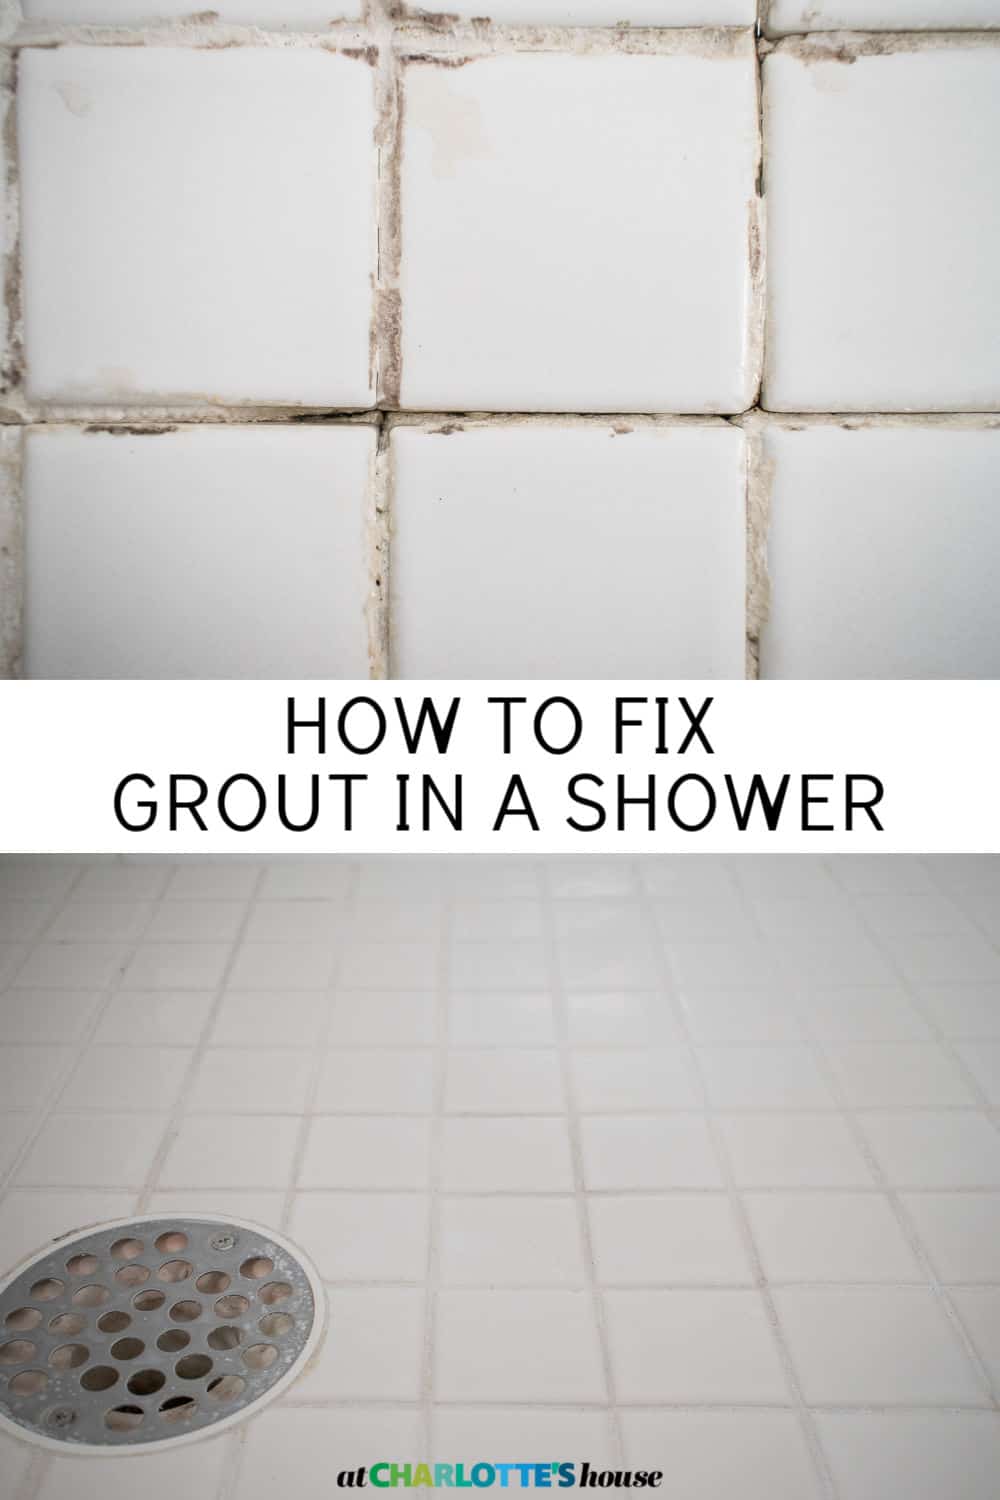
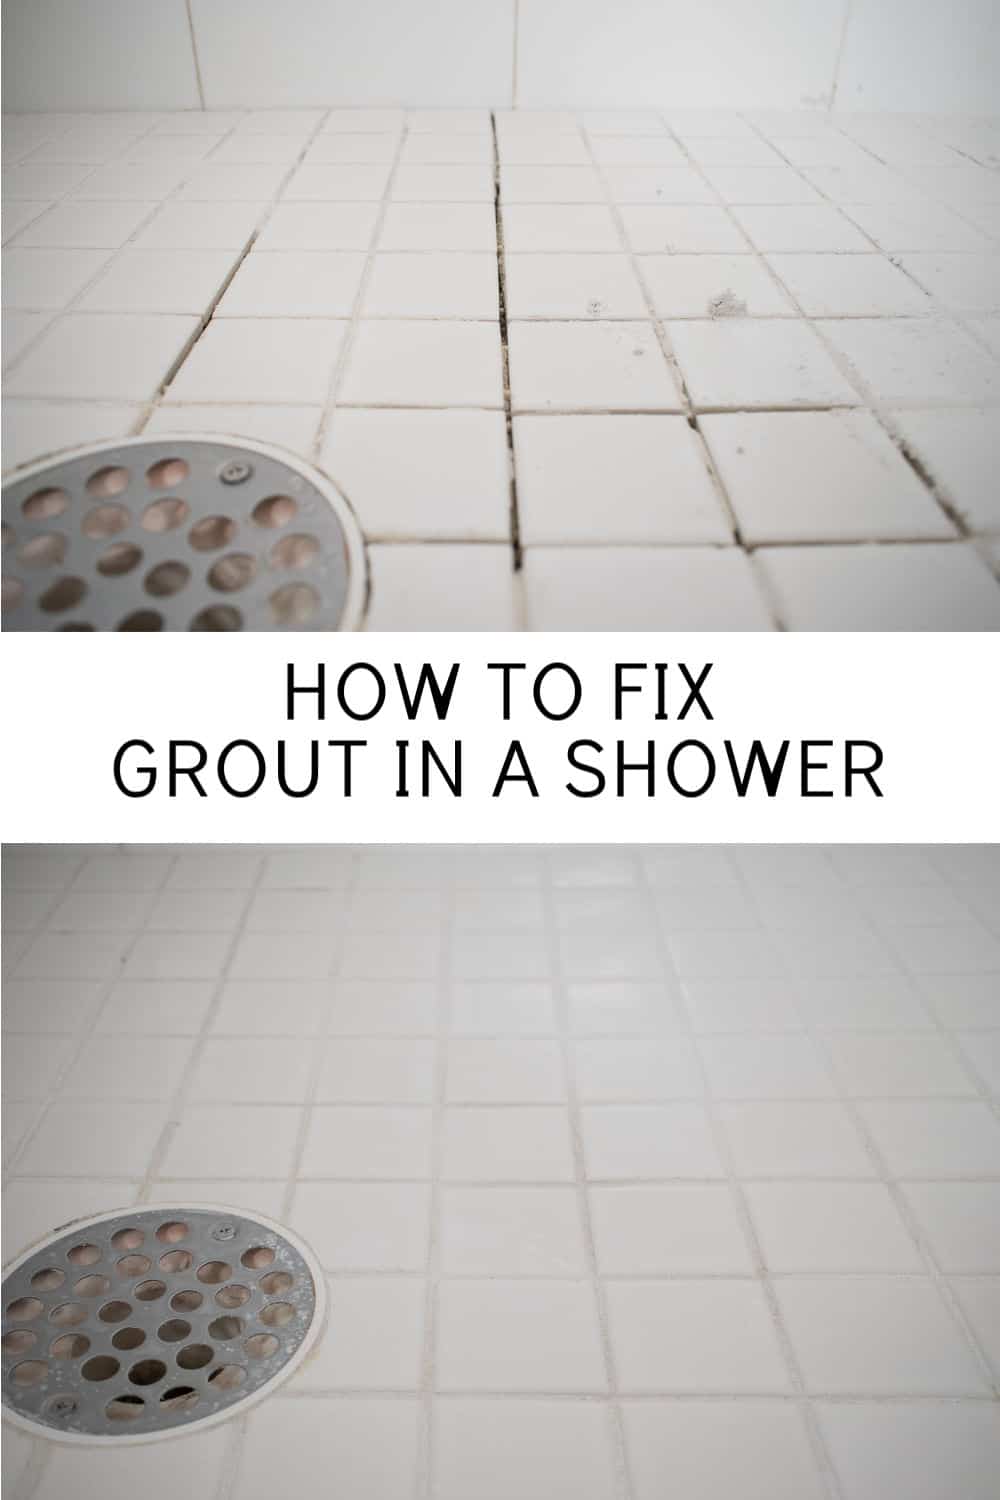
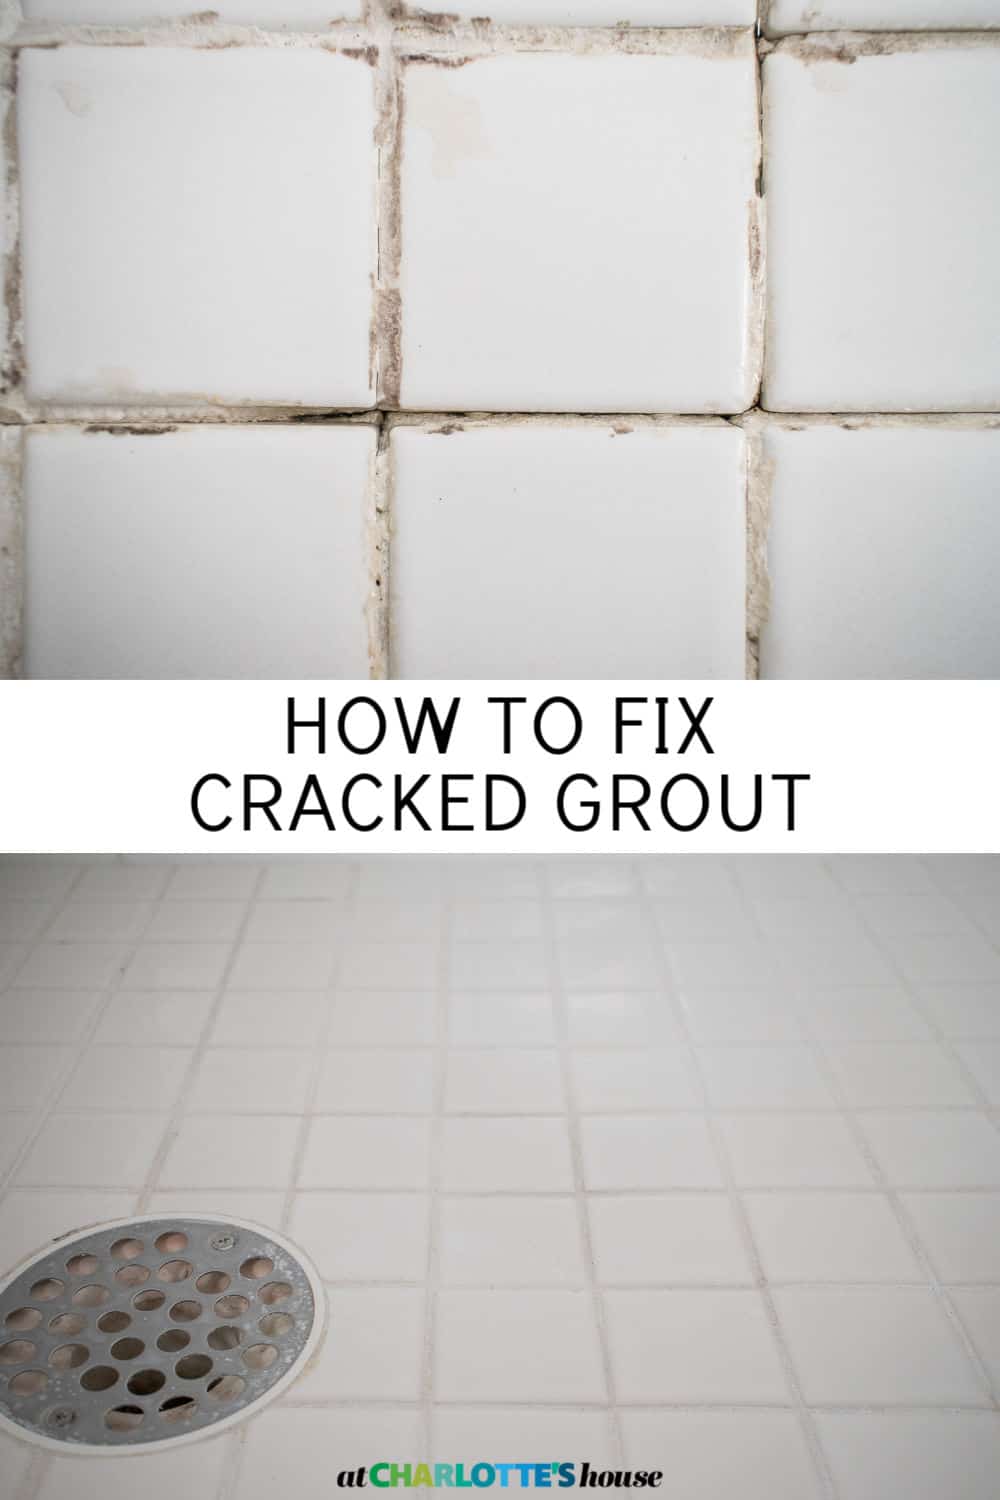
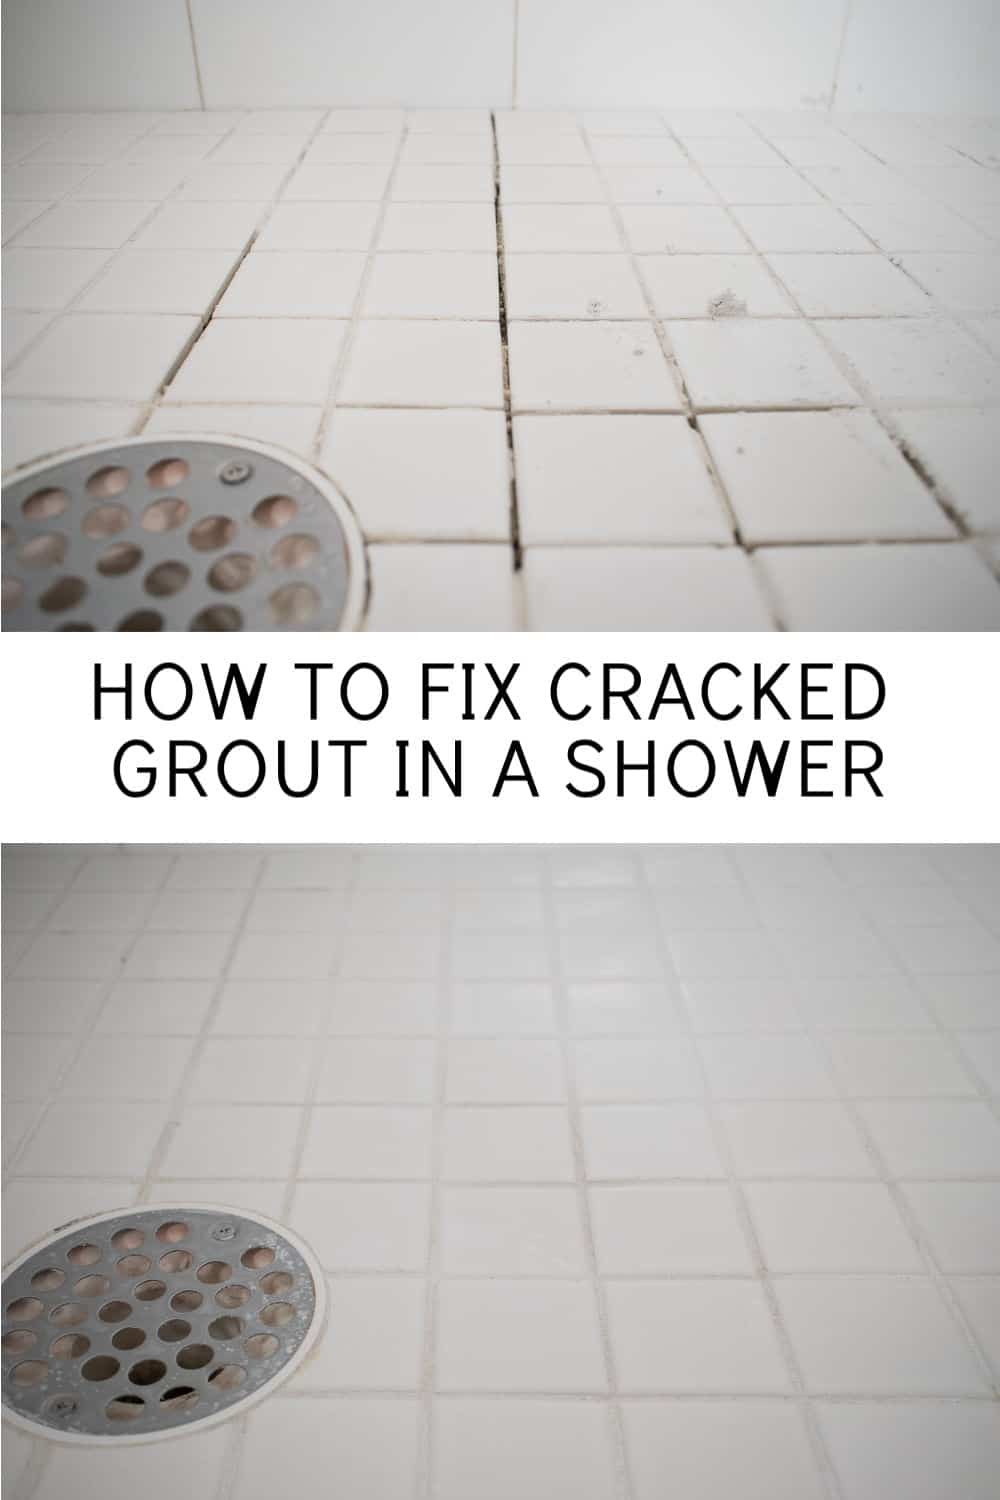
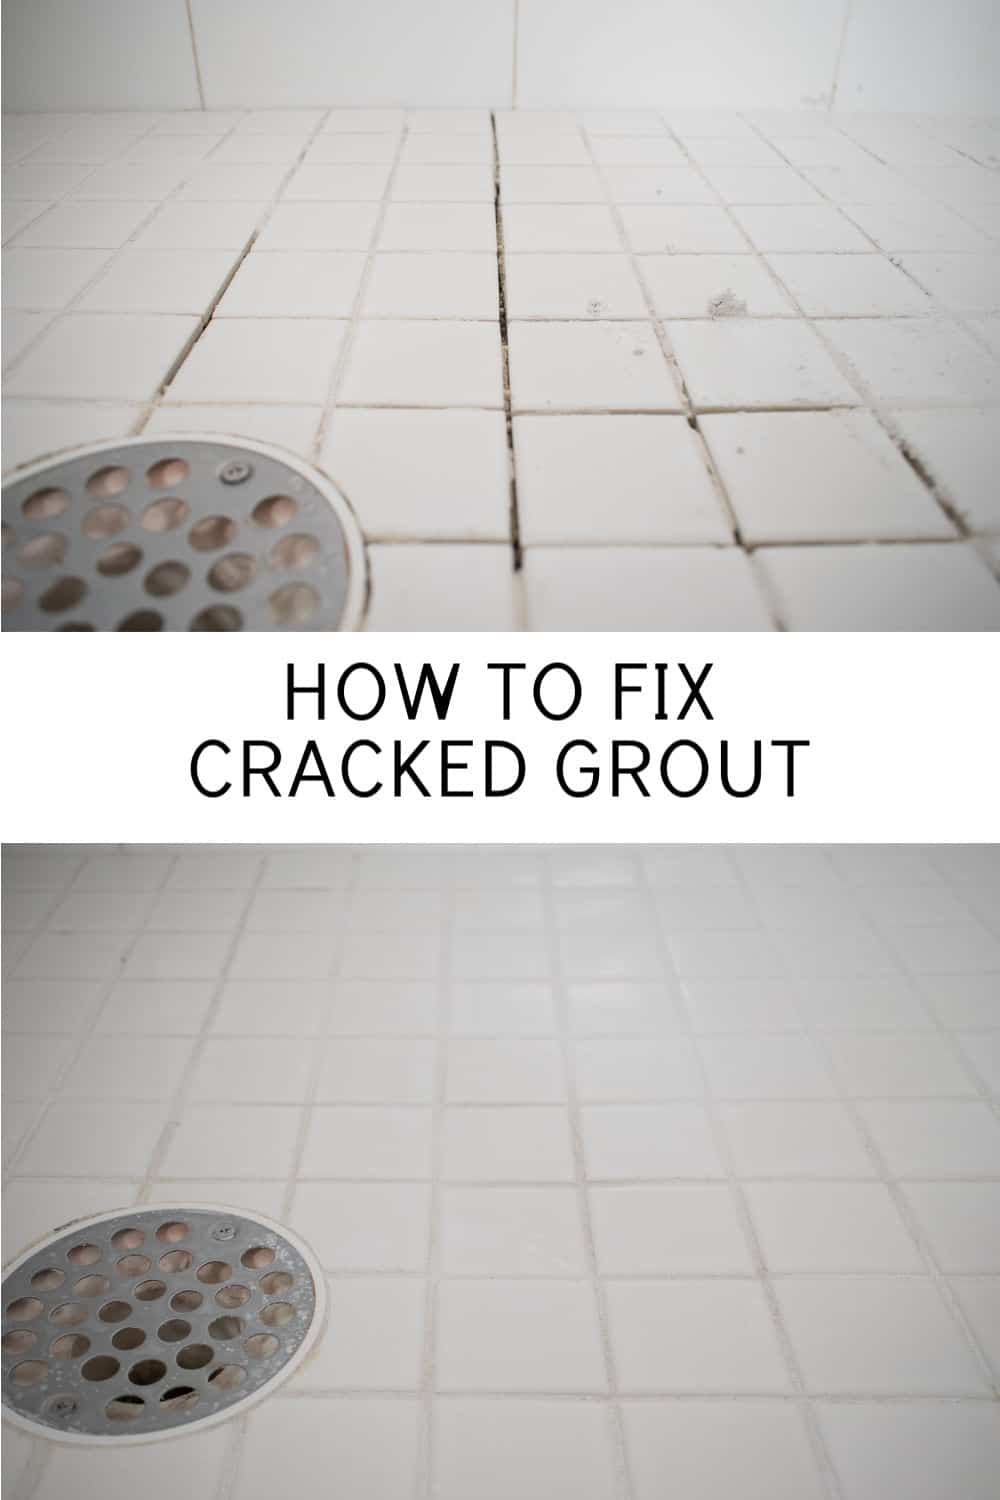
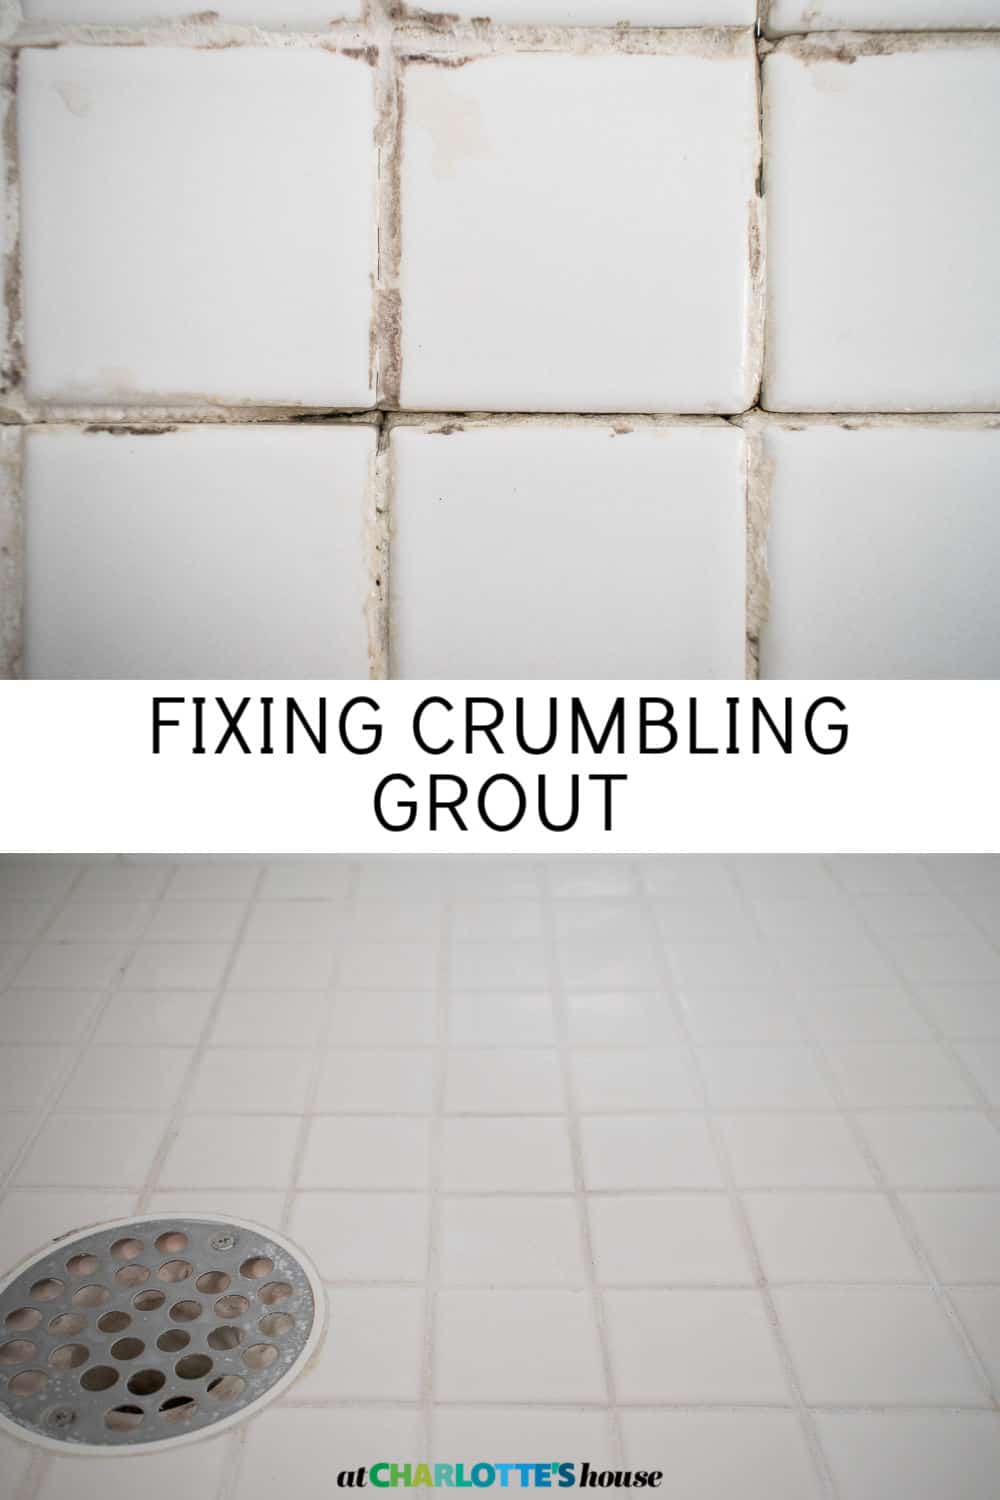
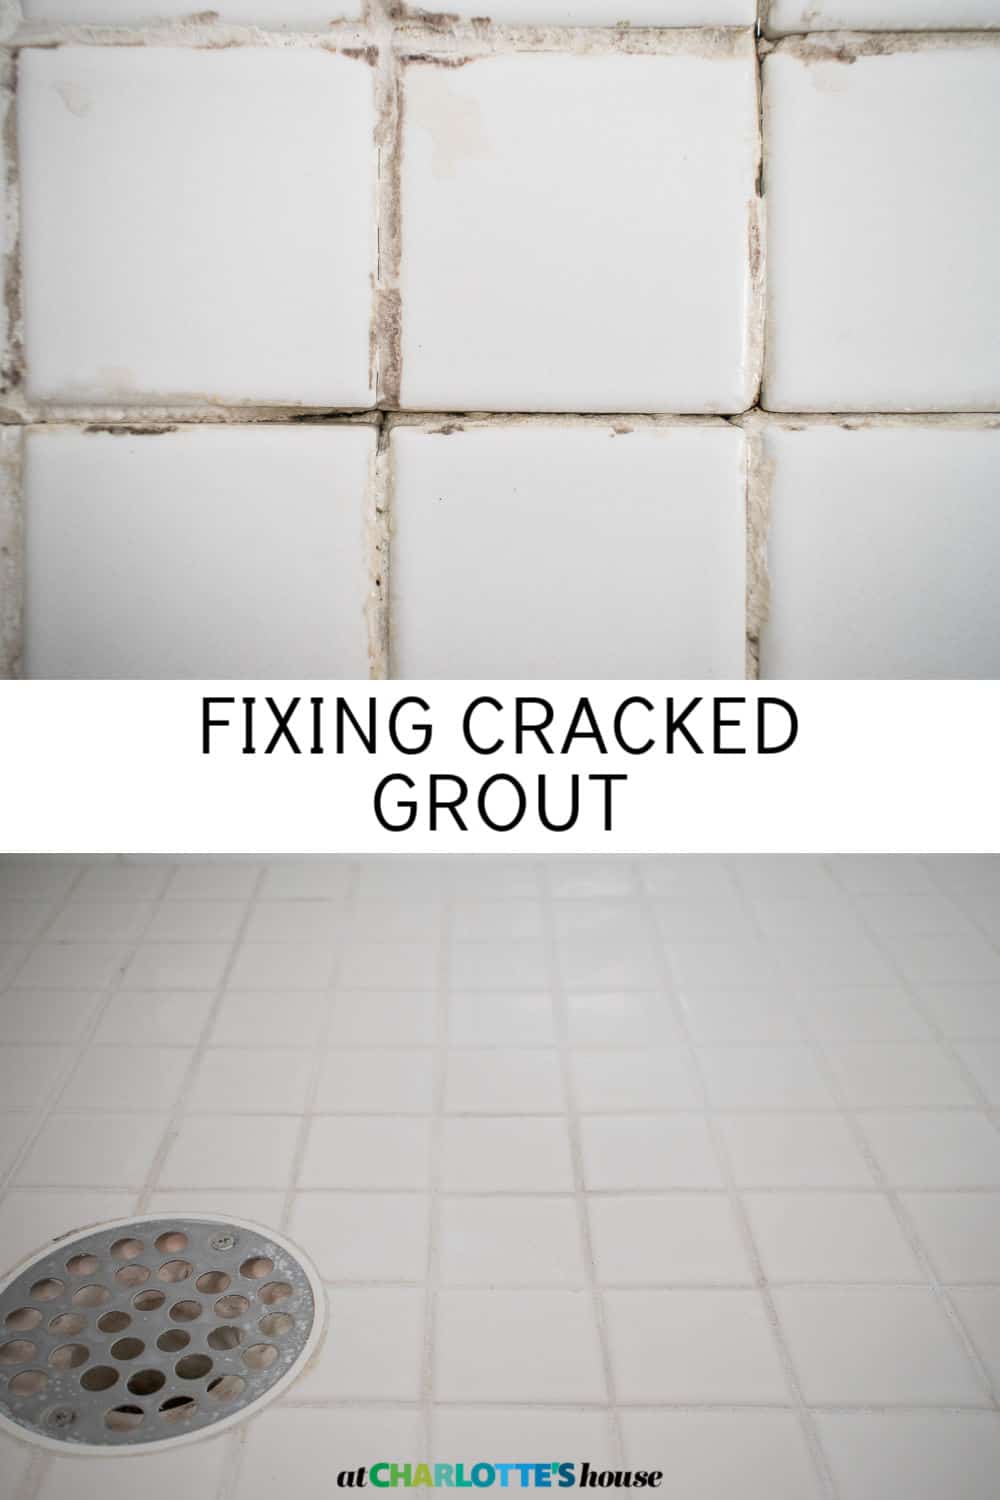
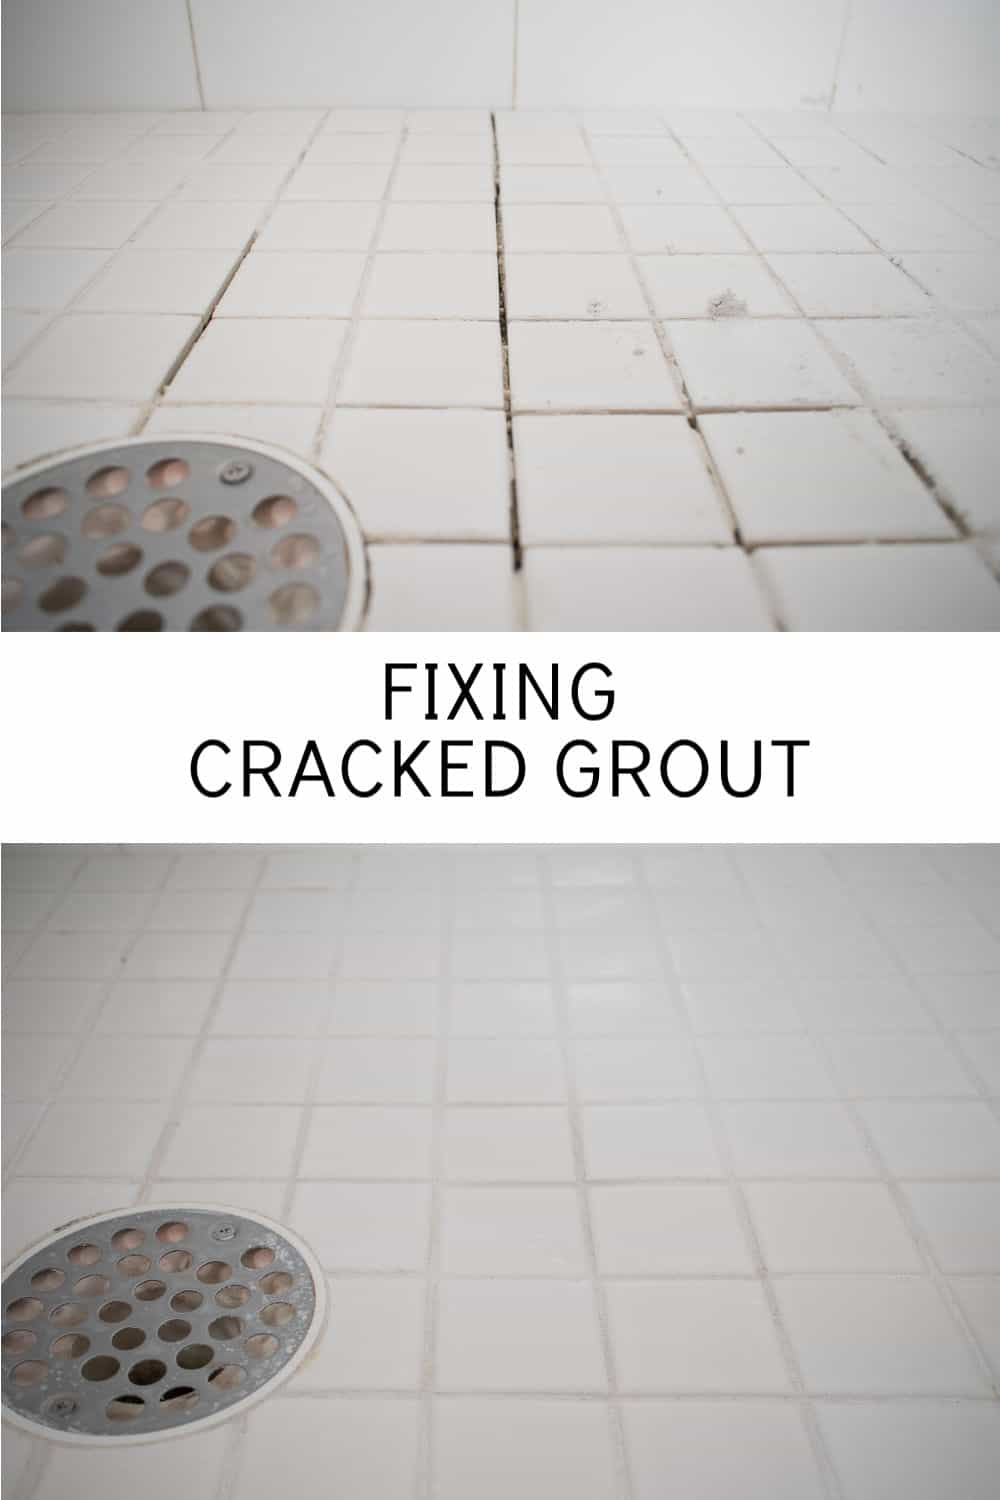
Our shower had lots of cracked and missing grout so I took a few hours to fix it. Be warned… these pictures are gnarly.
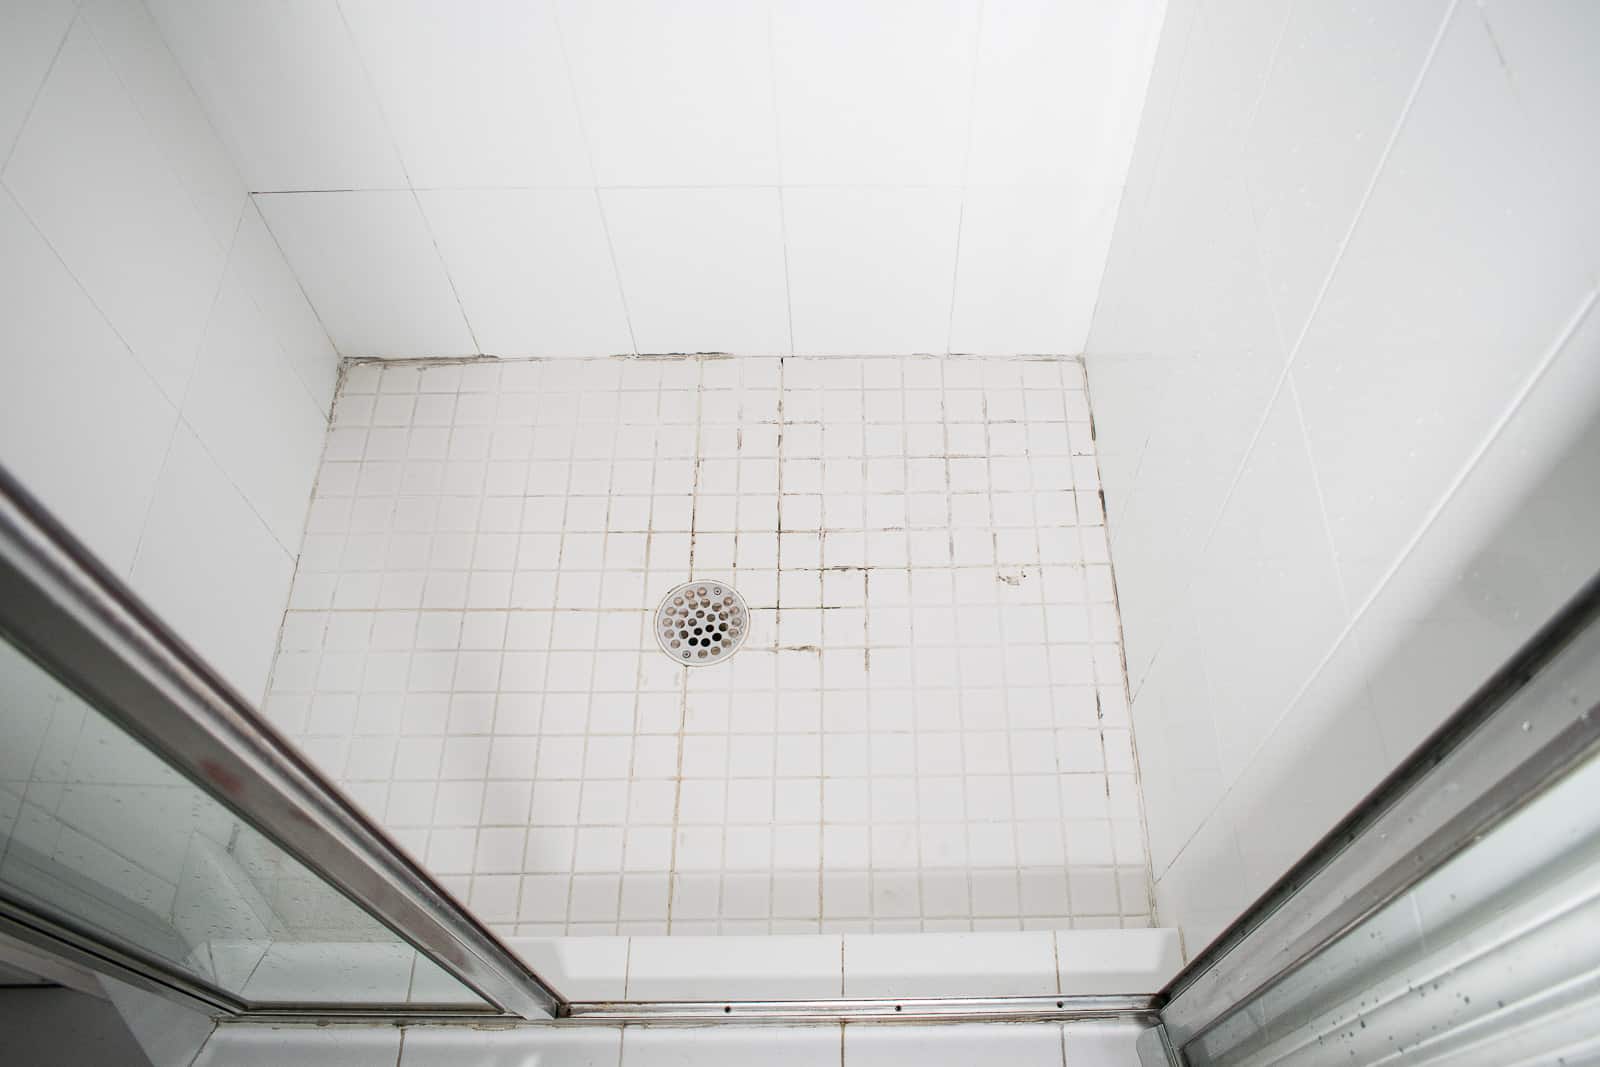
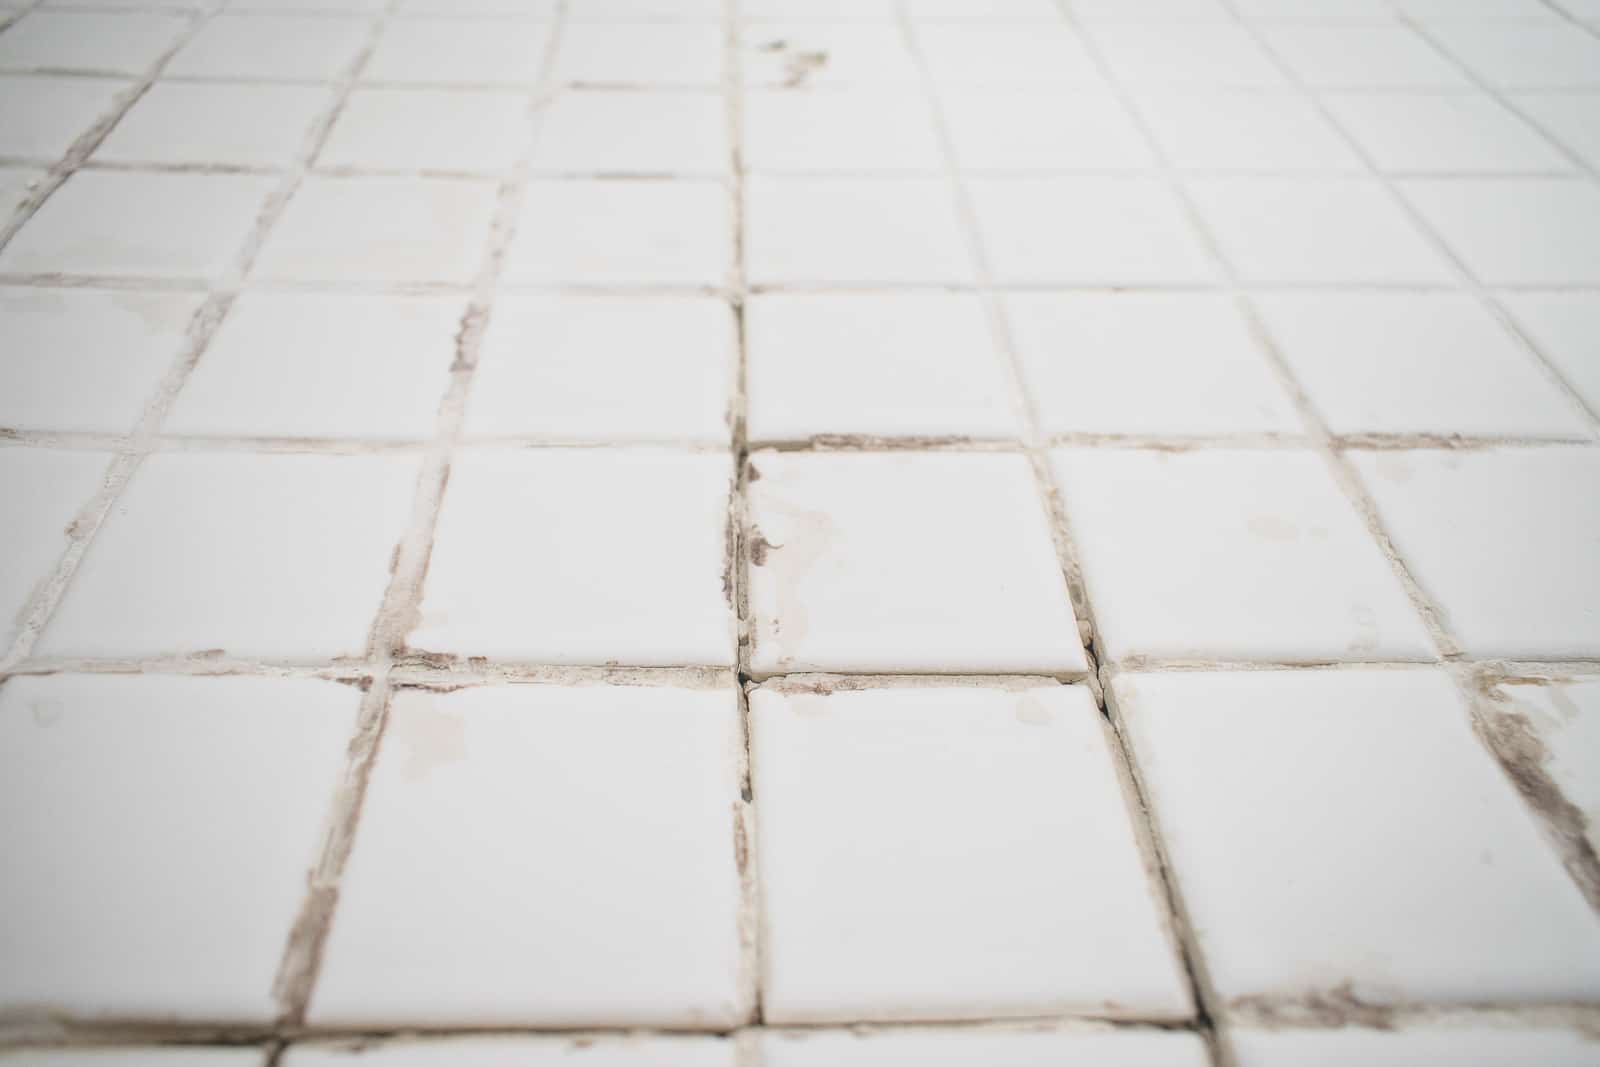
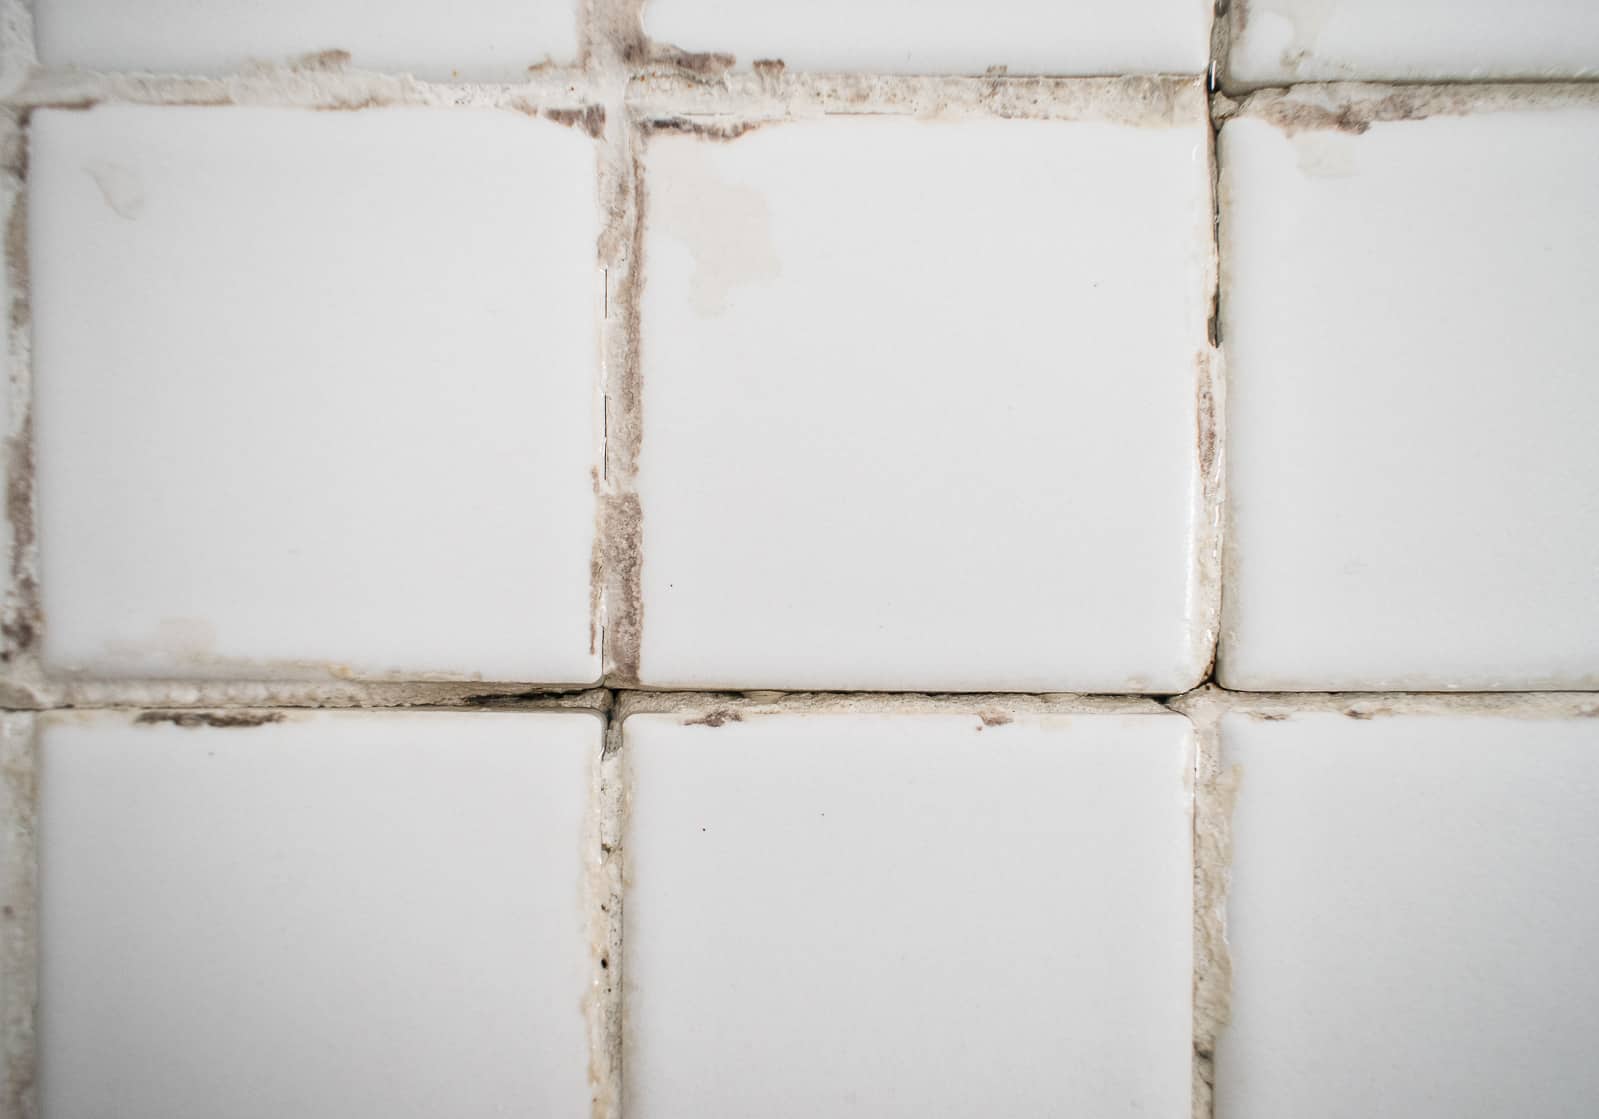
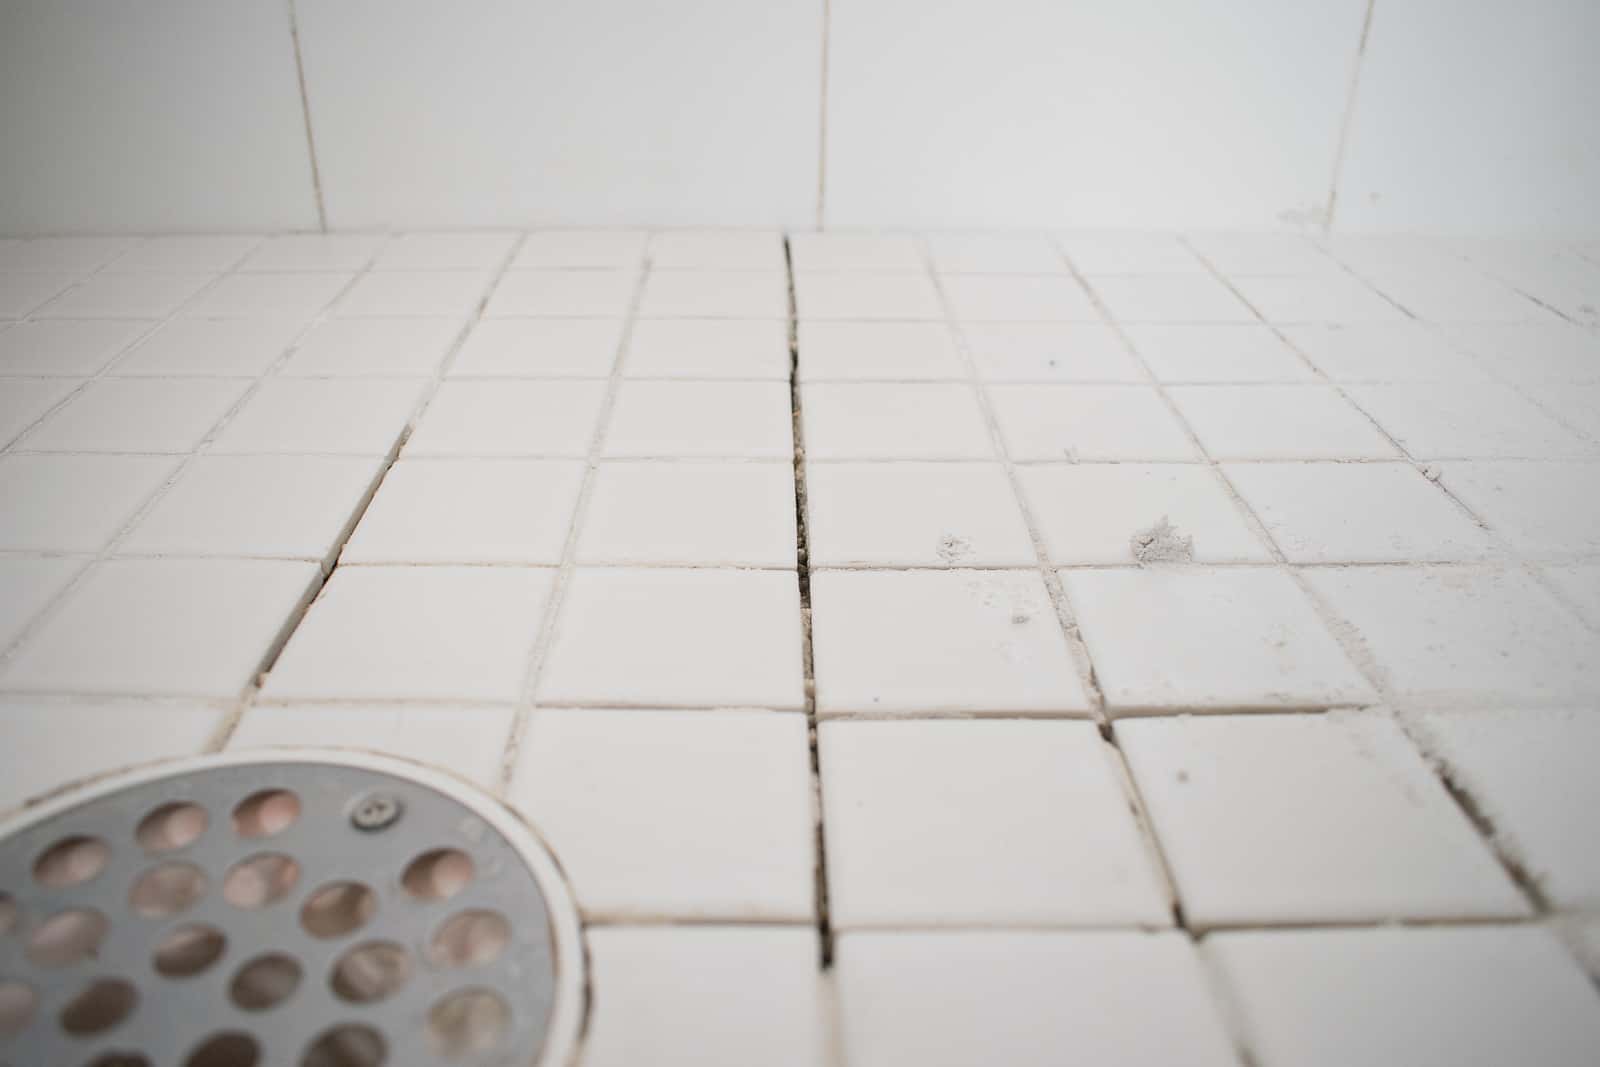
The shower in our master bathroom was in rough shape. The grout between the floor tiles was cracked and missing and, every bit a result, it was always musty and mildewy. Stained grout is i matter, but upon closer investigation, the grout between lots of the tiles in our shower was MISSING which is a much bigger issue. The purpose of the grout is to seal the area from water harm. When that grout comes loose, water gets betwixt the tiles, soaks into the mortar board and can ultimately rot the subfloor. No bueno.
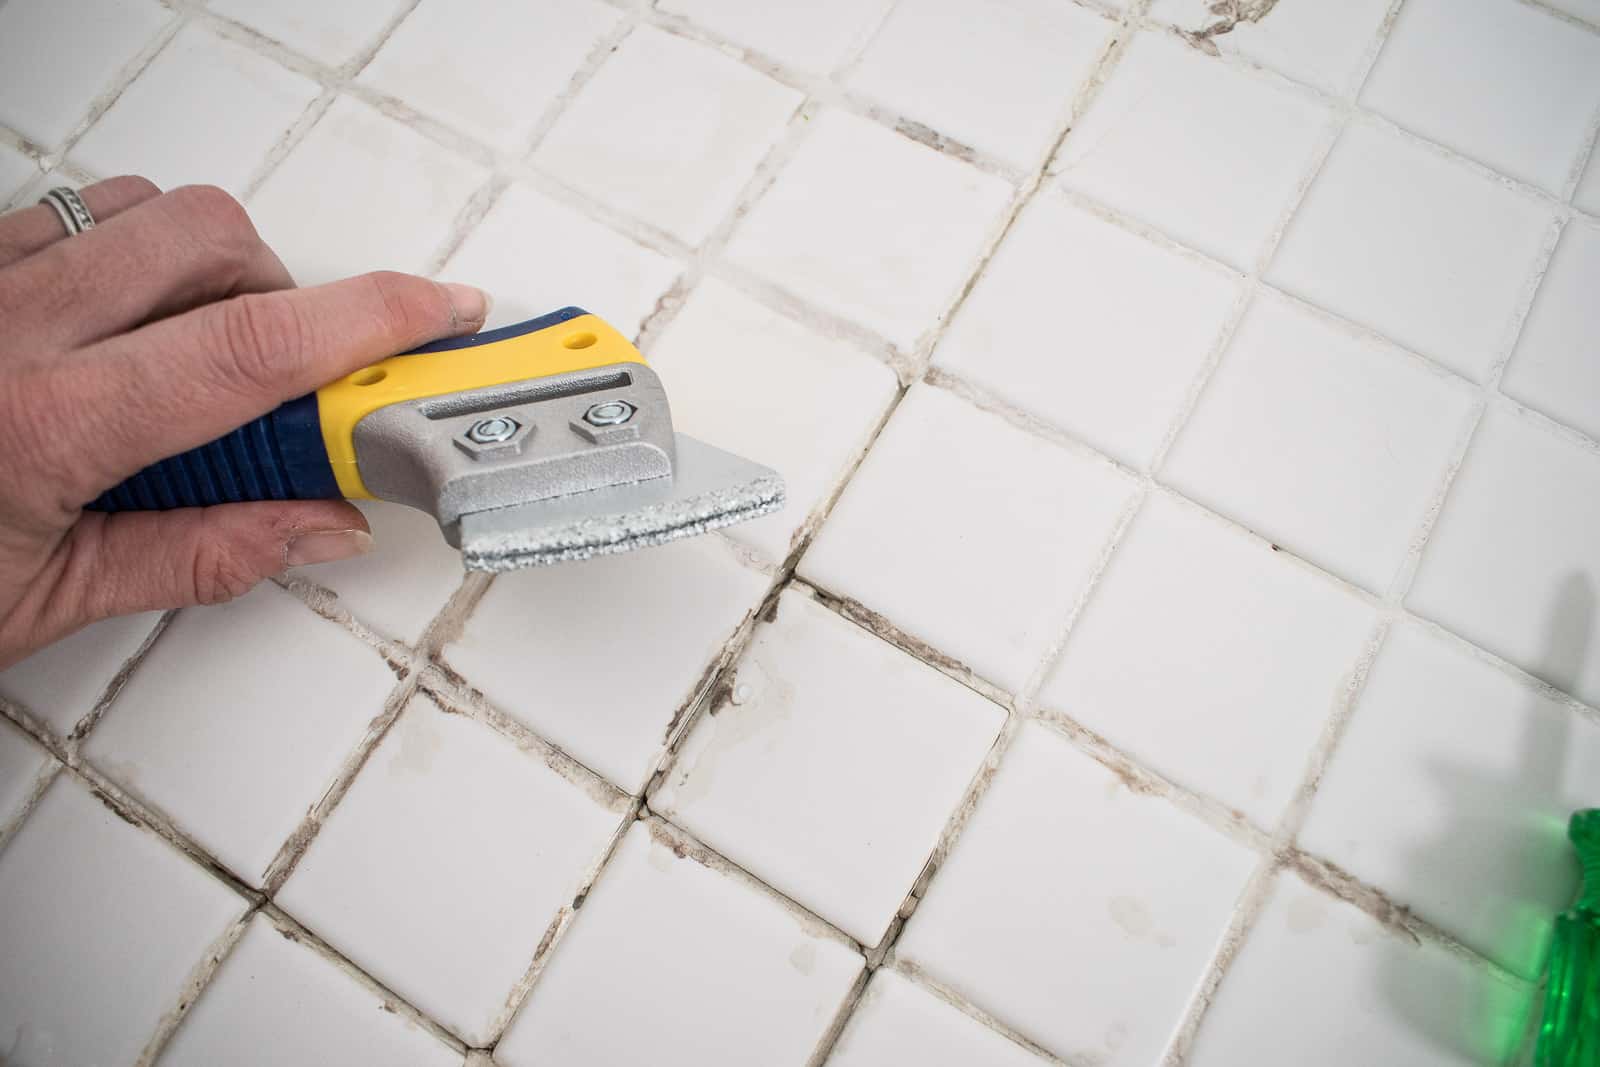
Step 1. Remove the loose/ damaged grout
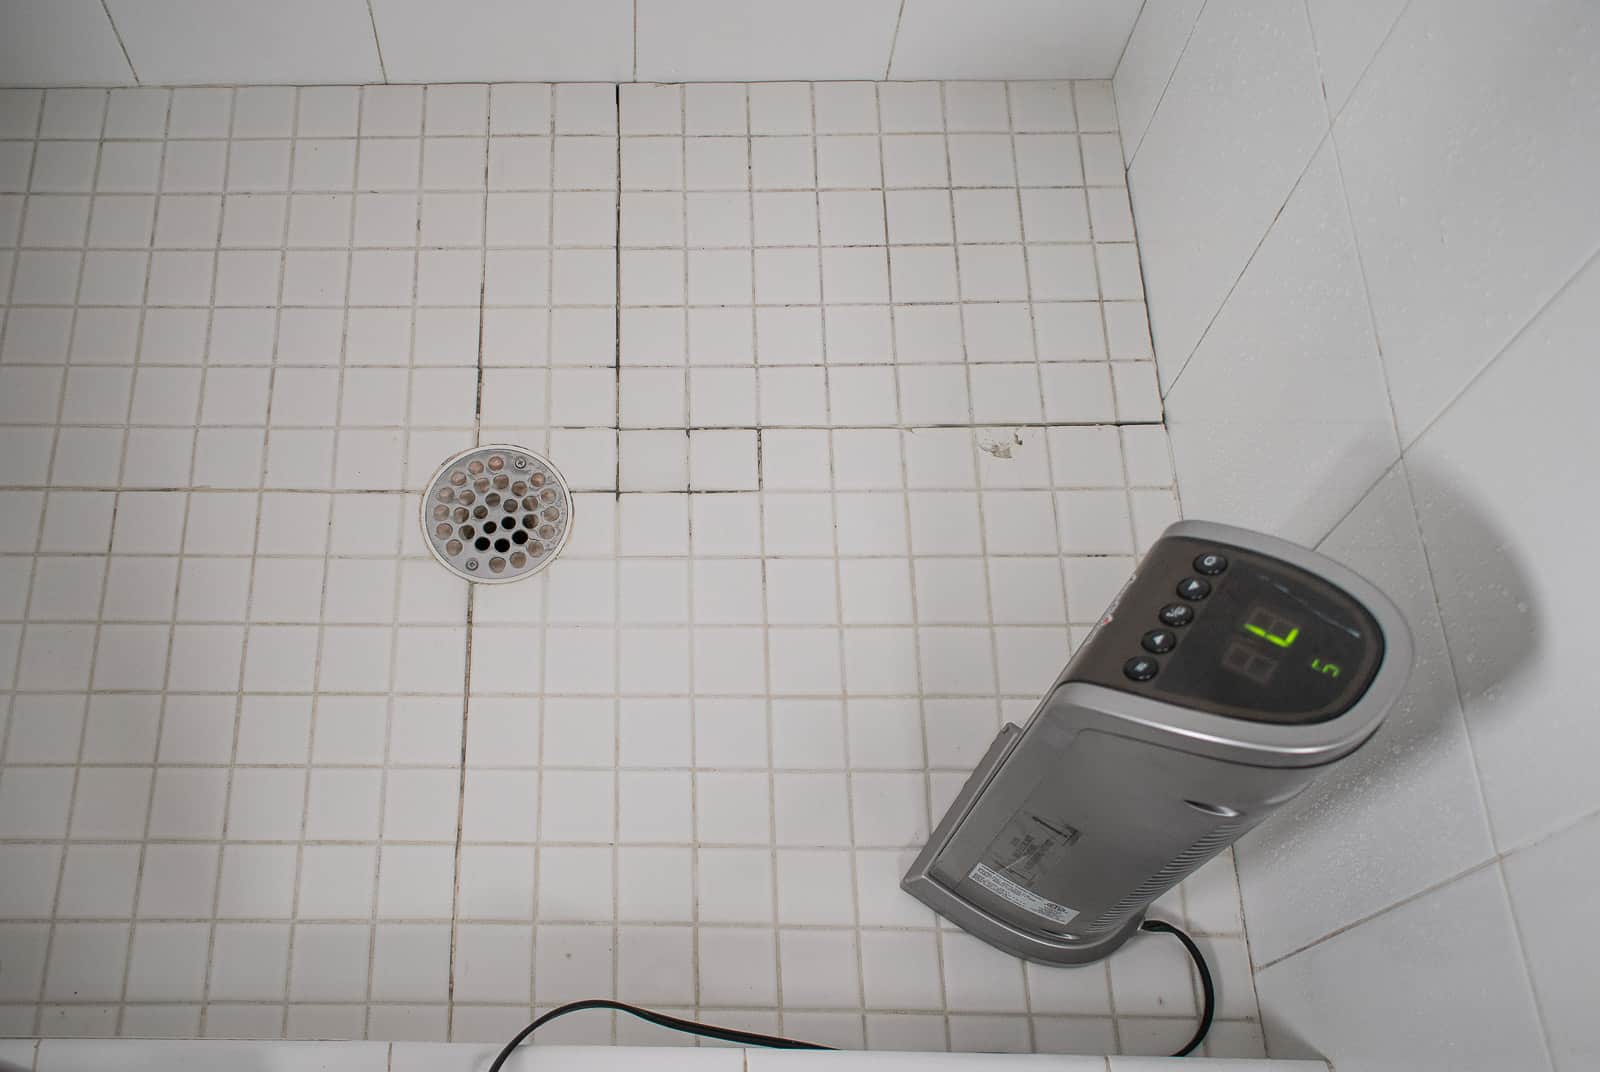
I picked up one of these tools to help scrape away the damaged grout. I also ended upward using my trusty 6 in 1 painters tool to scrape away some of information technology. (I actually removed 1 side of the grout grinder to information technology fit between my tiles easier.) Your goal is to remove the damaged grout, just also grind abroad the grout so that at that place'southward space for the new grout! I put heaters in the shower to dry out the subfloor before applying the new grout.
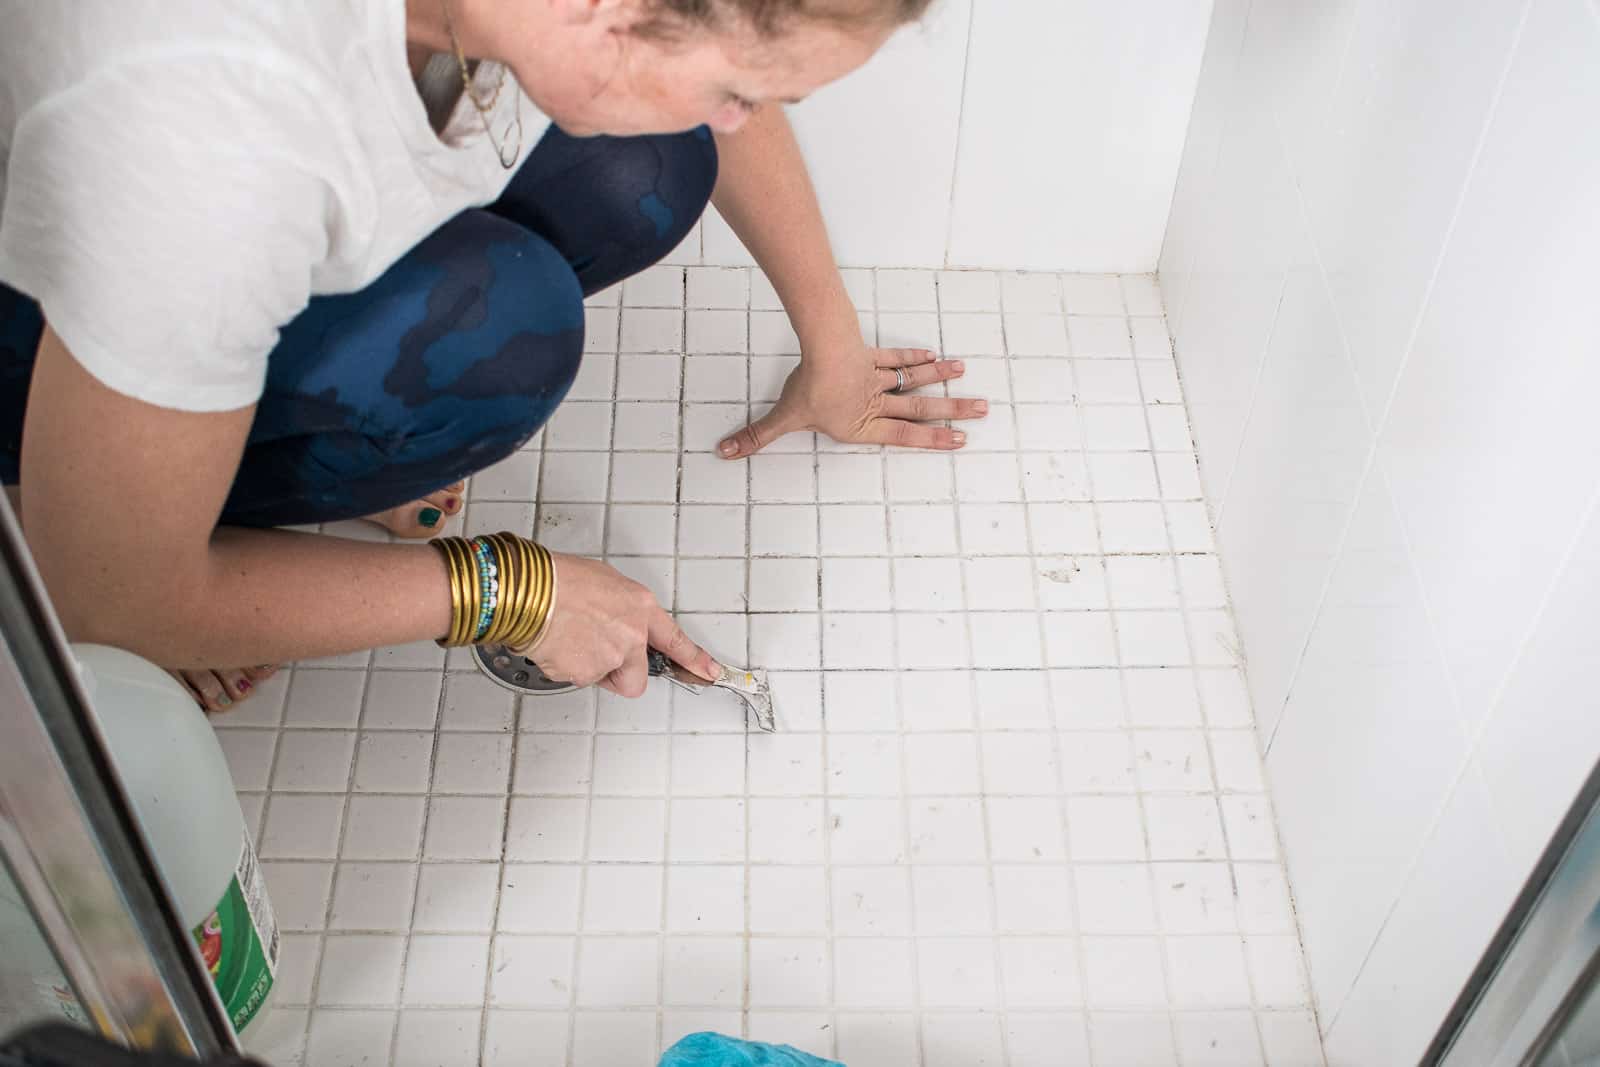 Step ii. Clean Upwards
Vacuum and clean up whatever dust that resulted from removing the grout. I used baking soda and white vinegar to scrub abroad remaining mildew/ grout dust.

Step 3. Regrout
I used this sanded premixed grout because I didn't that much. It comes in lots of different colors so consider what your existing grout is before purchasing. I used a spatula to scoop some grout onto my rubber grout float and then pressed it into the space between the tiles. Move your float back and forth like an 'x' to ensure the grout is pushed all the style between the tiles.

Footstep 4. Clean the Residuum
Follow the directions on the packet to determine how long to wait earlier sponging off the backlog grout. Using a big yellowish sponge wipe abroad the excess grout, rinse… and echo.
Step v. Exit to Dry and Caulk
Because this grout was on a shower floor, I had to let it set for 7 days.
Note: Call back how I had the heater going? Well, the surface beneath our tiles was and so saturated and damp from the cracked grout, that the first time I applied the grout… information technology never cured. Later on 7 days, it crumbled away. I knew it wasn't a problem with the grout since I bought the premixed, then I scraped it away and left heaters going for a few more than days and repeated the in a higher place procedure.
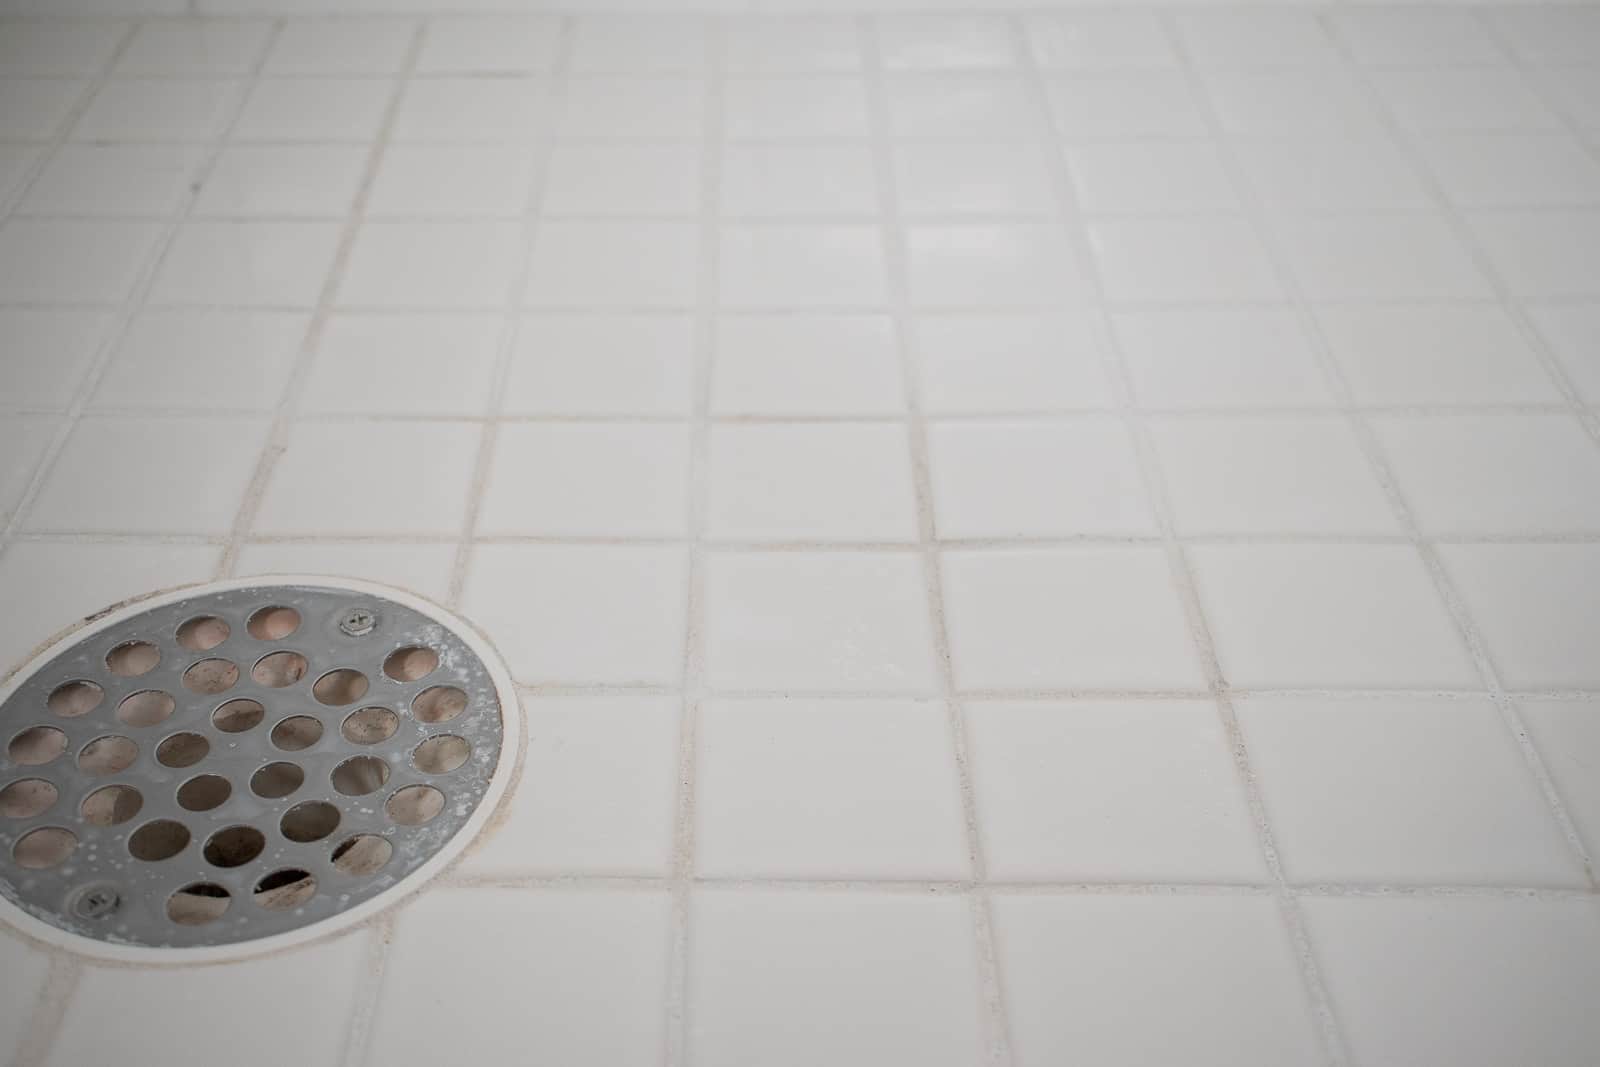
After seven days, the grout appeared to have set and I was able to caulk around the corners (I used this caulk) and…. our shower was back in activity! I wish I had done this sooner… because we used the shower with cracked grout, information technology only meant the backerboard/ floor beneath the tile had that much more h2o getting downward onto information technology. Note to self: fix croaky grout equally shortly as yous discover it!
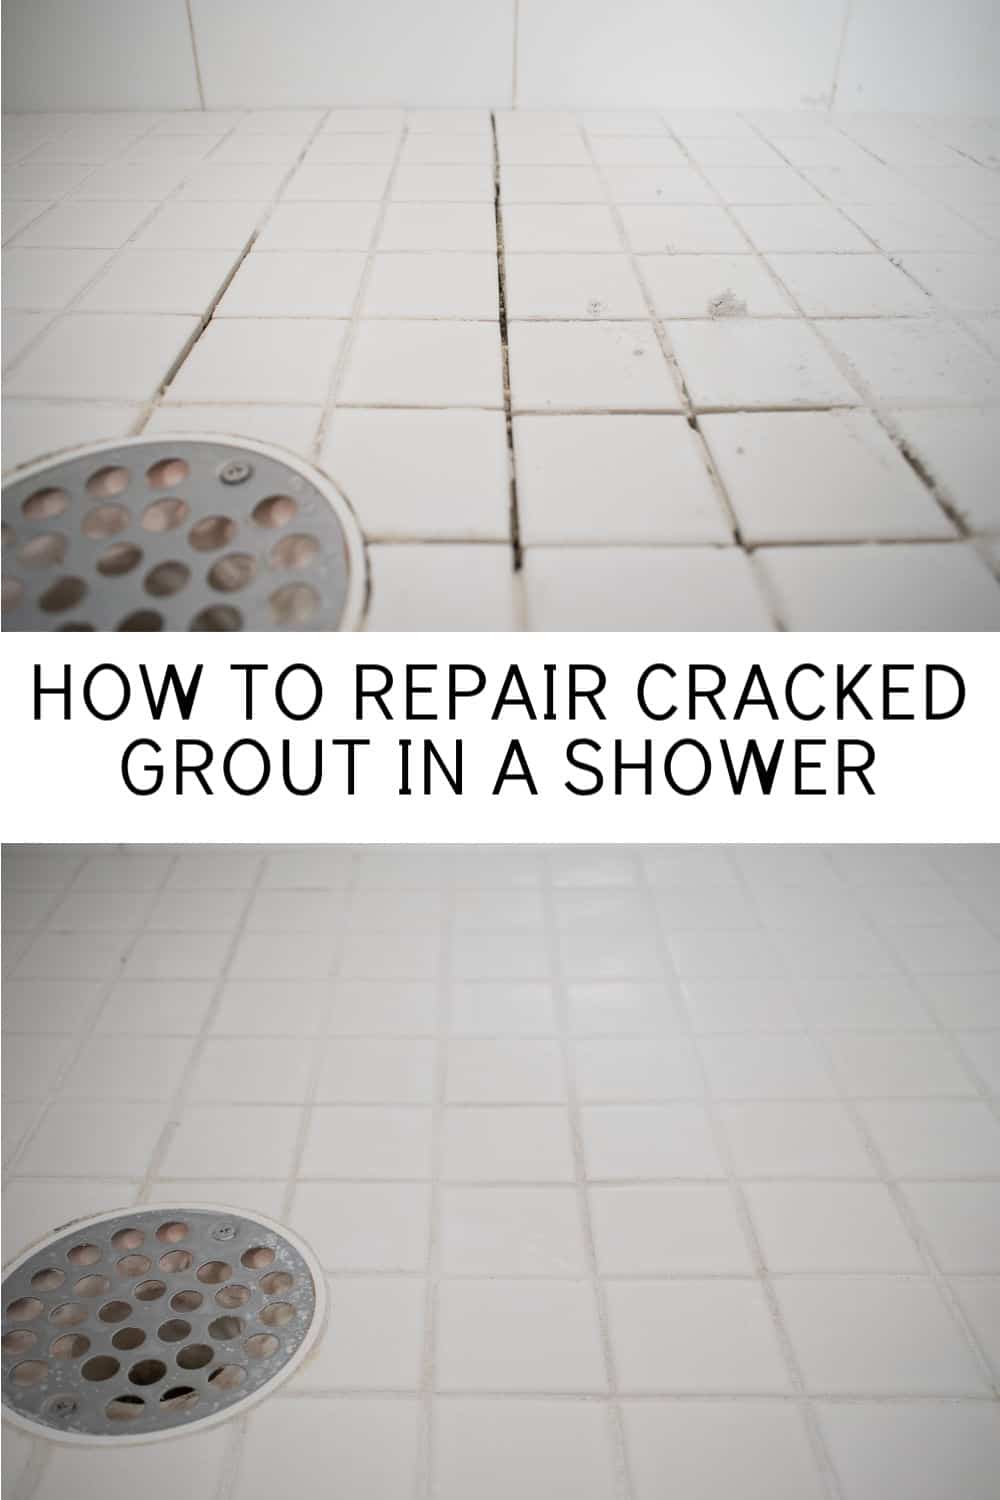
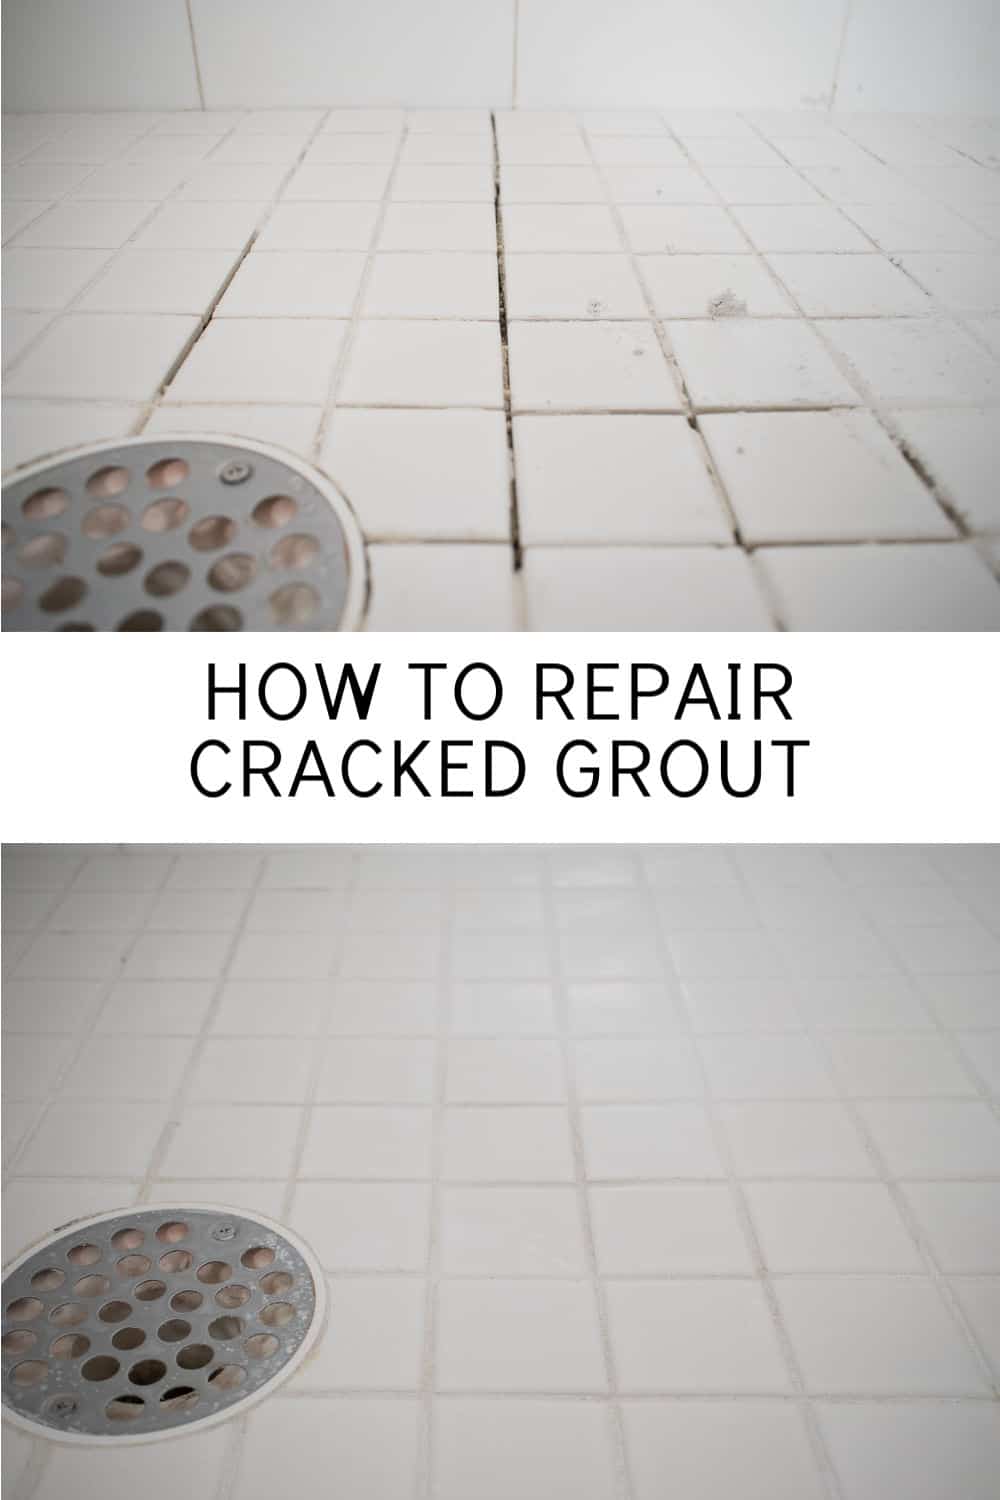
Remember how it looked earlier?? Here's the earlier and then curl down for the afterwards!
SUCH an like shooting fish in a barrel project, but also SO necessary! If the h2o is allowed to seep down and saturate the surface below the tile, it will erode the rest of the mortar and y'all'll take to demo/ replace the entire shower. So yeah… keep an eye on that grout, y'all!


How To Repair Grout In Shower Floor Tiles,
Source: https://atcharlotteshouse.com/how-to-fix-cracked-grout/
Posted by: stonespon2001.blogspot.com
0 Response to "How To Repair Grout In Shower Floor Tiles"
Post a Comment